
Home Elevator Installation After Interior Floor Finishing.
A technical installation case for a three-story self-built residence in Taikang, Zhoukou, where elevator construction began after the homeowner had already completed the floor tile installation.
The house was already finished. The elevator was not.
This residential elevator project is located in Taikang, Zhoukou and involves elevator installation in a three-story self-built house.
Unlike an installation carried out during the rough construction stage, the homeowner had already completed the floor tile work before the elevator installation began.
This required the construction team to coordinate elevator installation with the completed interior environment and carefully protect finished surfaces while transporting and installing heavy elevator components.
For a finished or partially decorated residence, professional elevator installation is not only about equipment accuracy — it is also about controlling the impact of construction on completed interior surfaces.
Installing heavy equipment over finished flooring.
Elevator components must be moved through and installed inside the residence. With the floor tiles already completed, the construction process needed additional protection measures before equipment entered the work area.
Finished Floor Tiles
The homeowner had already completed floor finishing, increasing the risk of scratches, impact or local damage during elevator installation.
Heavy Elevator Components
Guide rails, frames and other components require controlled transportation and temporary placement inside the residence.
Refined Construction
Installation efficiency had to be balanced with protection of the homeowner’s completed interior finishes.
Protect first. Install second.
Before moving elevator components into the installation area, the construction team placed protective blankets over the completed floor.
Main elevator components were then placed on the protected surfaces rather than directly on the finished tiles. This reduced the risk of impact damage and scratches during installation.
Building the mechanical foundation of the elevator.
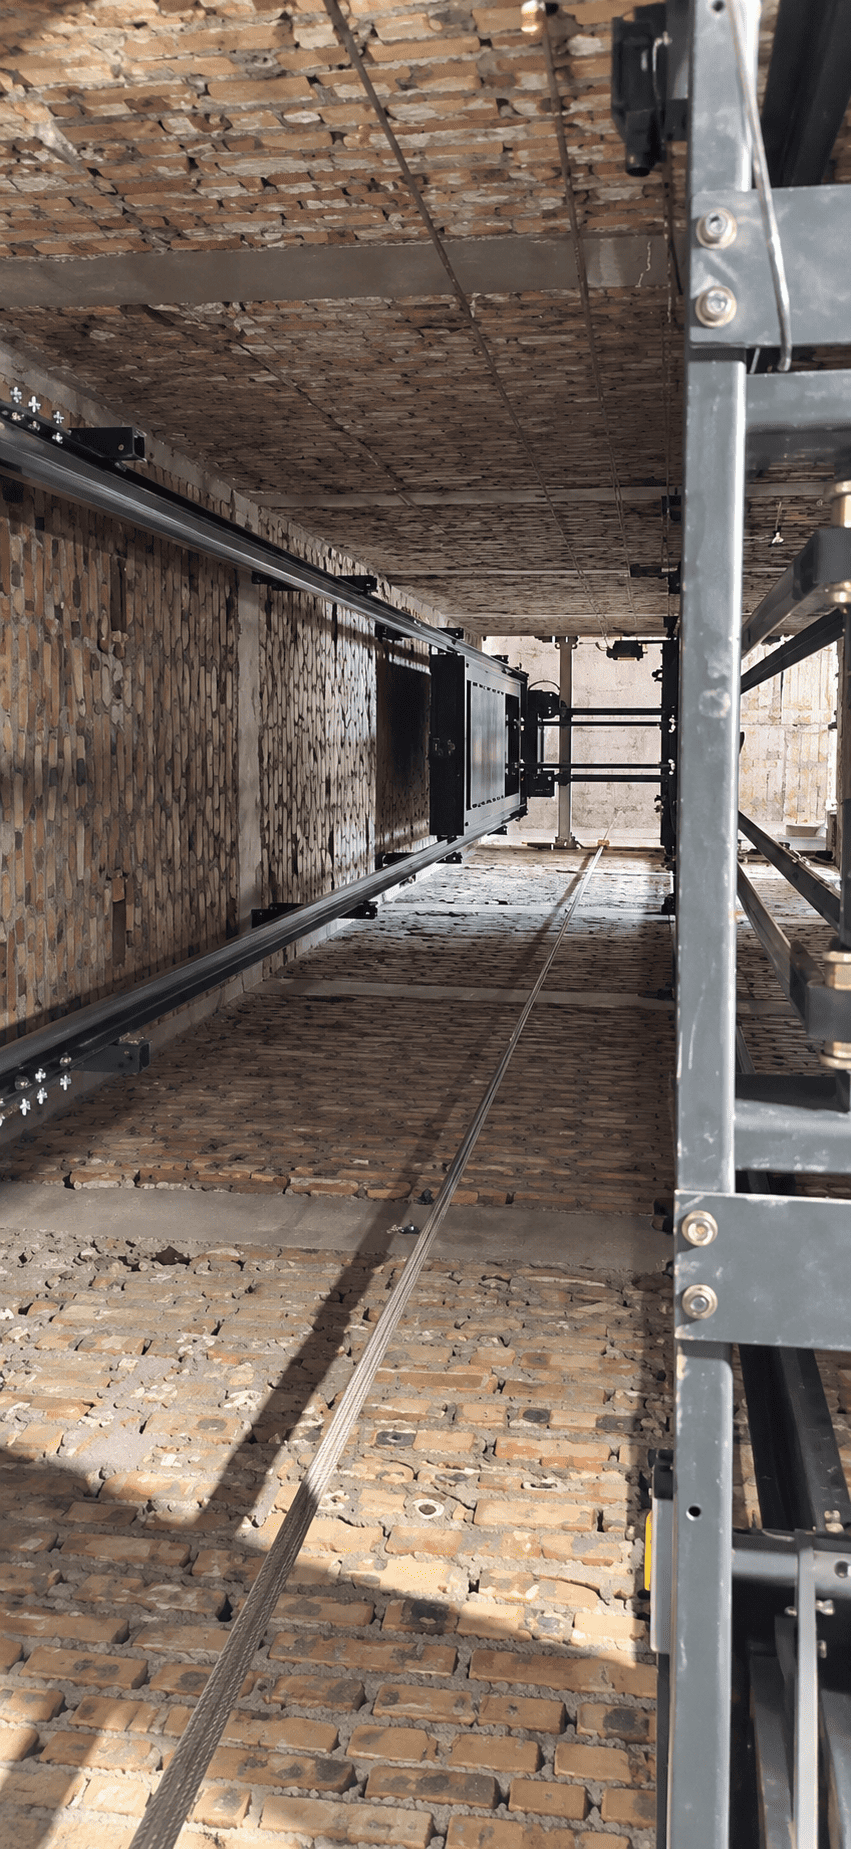
During this stage of the project, the door frame, guide rails and counterweight frame were installed, creating the structural basis for subsequent elevator assembly and operation.
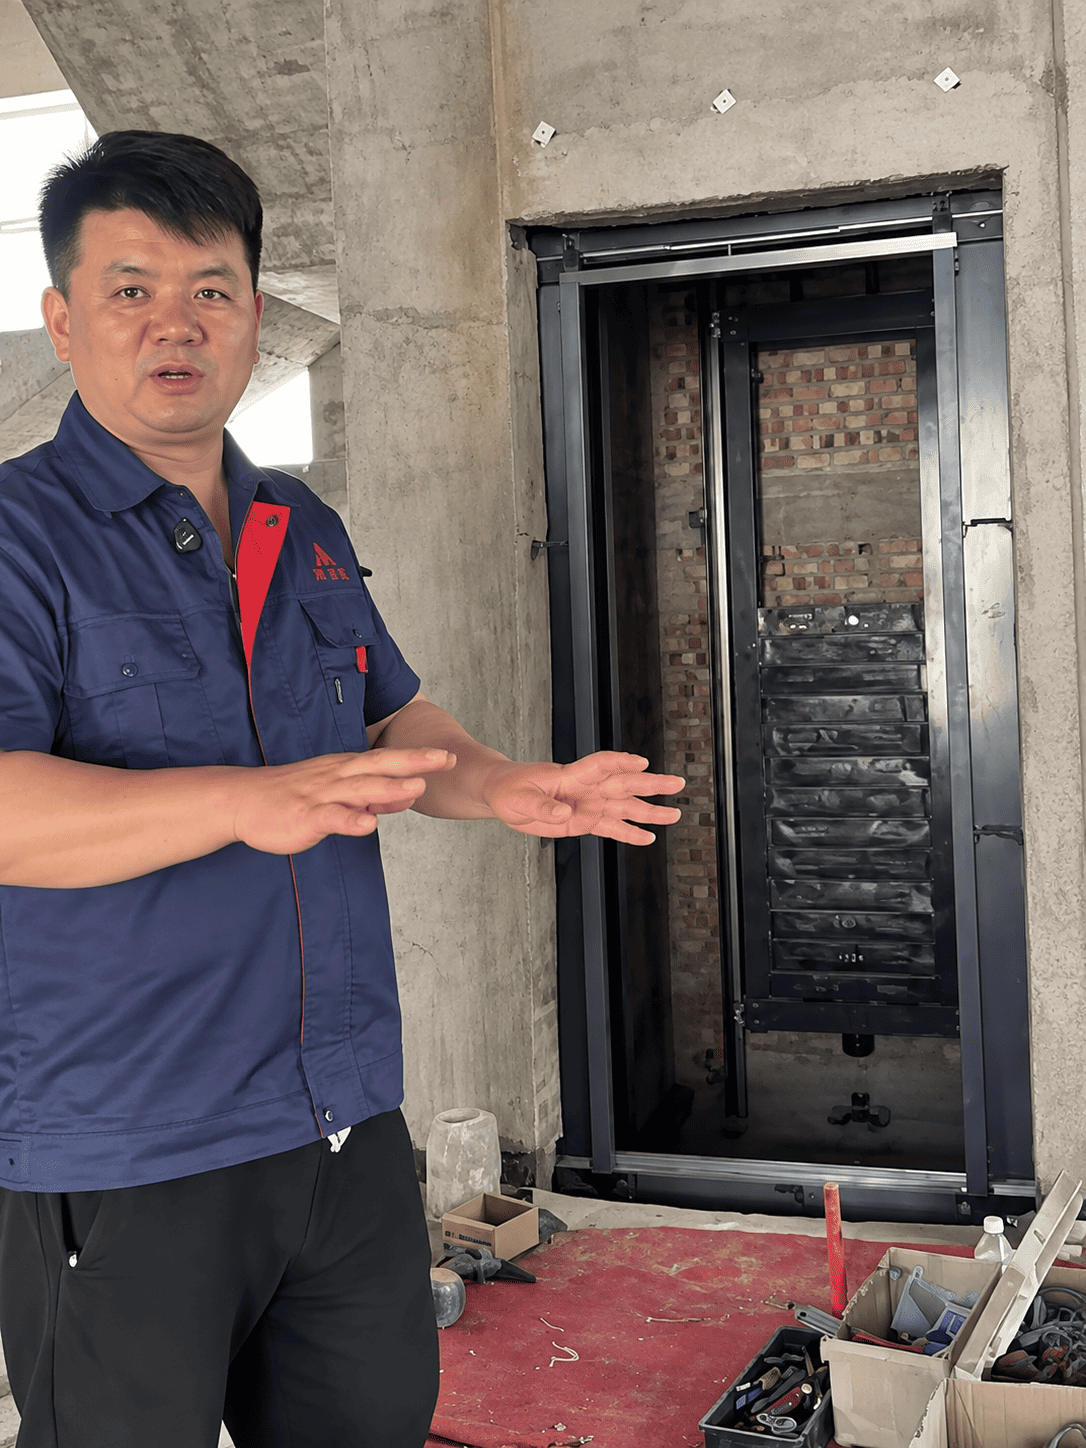
The entrance frame was installed and aligned with the elevator hoistway and future landing-door system.
Guide rails were installed according to the elevator’s mechanical alignment and stability requirements.
Counterweight installation follows mechanical balance principles to support stable elevator operation.
Guide rail brackets and door-machine support structures were coordinated with the building structure.
Ring beams are part of the elevator installation system.
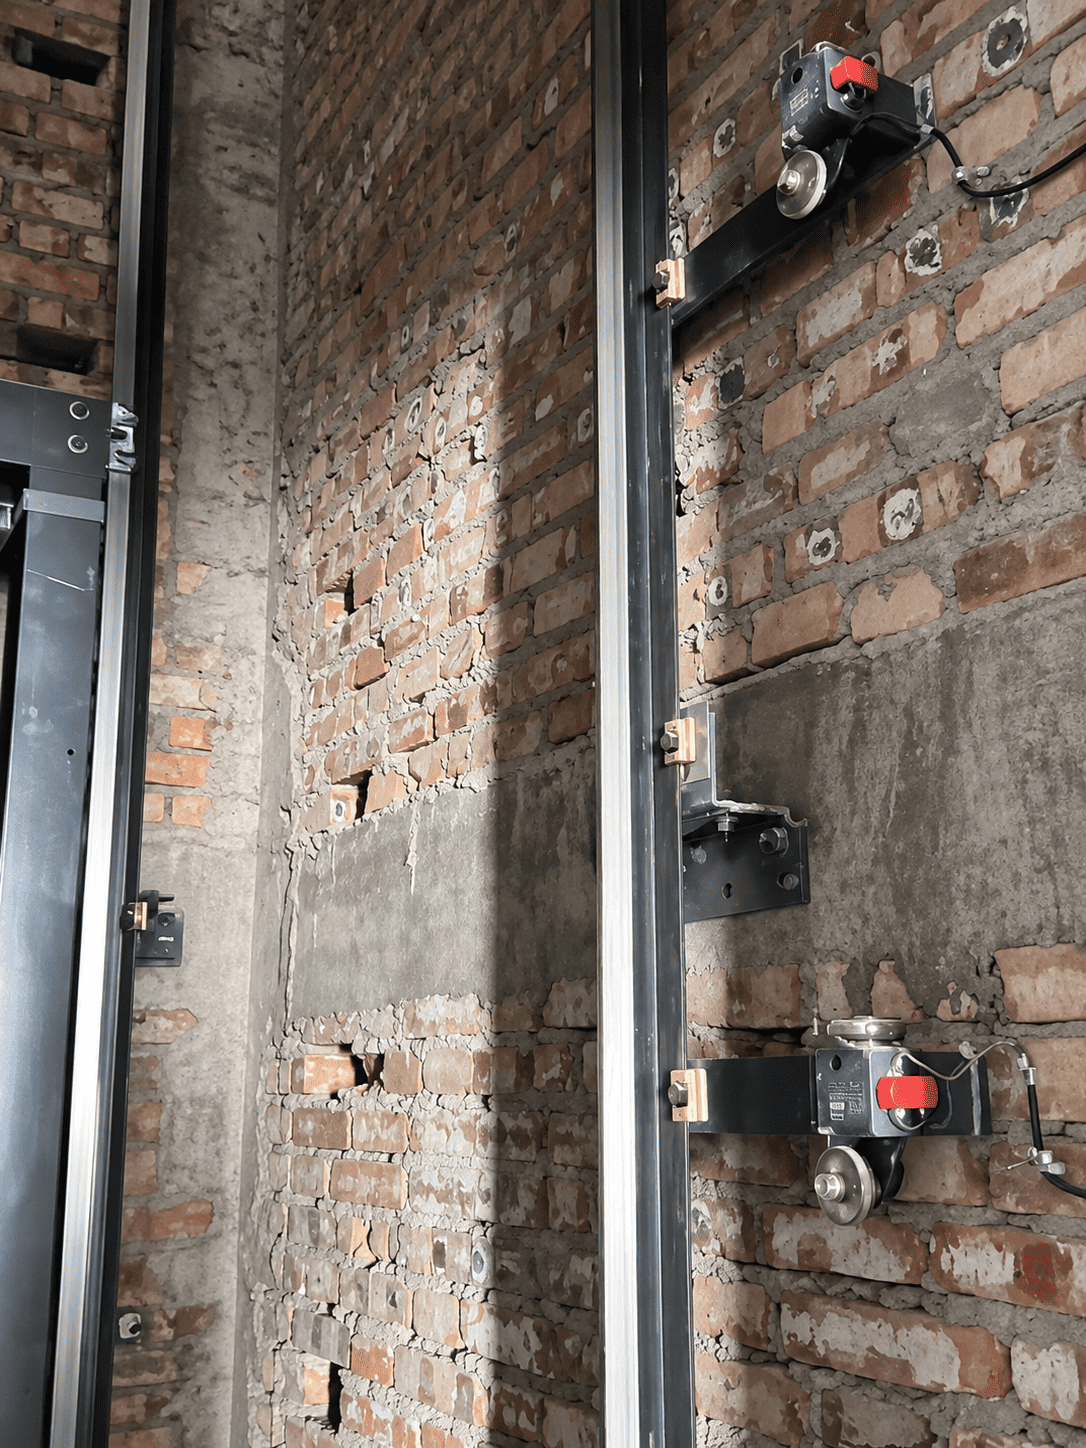
Inside the hoistway, the guide rail fixing brackets are connected to the wall ring beams.
The door head beam provides the structural fixing position for the door machine. These structural elements therefore need adequate load-bearing capability and suitable fixing conditions for the elevator installation.
Provides the structural position used to secure guide rail brackets.
Provides the structural fixing point required by the elevator door system.
Why ring beams matter in a home elevator shaft.
For new self-built houses, structural preparation of the elevator shaft affects how guide rails and door equipment can later be securely installed.
Guide Rail Fixing
Ring beams provide suitable structural locations for guide rail bracket installation.
Door Machine Support
The door head beam provides the required fixing structure for the elevator door machine.
Adequate Load Capacity
Structural elements need sufficient strength for reliable mechanical fixing, including expansion-bolt connections.
Installation inside a finished home.
A closer look at the installation environment, structural preparation and component assembly during the Taikang residential elevator project.
Protect. Position. Install. Verify.
When the residence has already entered the finishing stage, elevator construction requires both mechanical accuracy and disciplined protection of the surrounding interior.
Protect Finished Areas
Cover completed flooring and define protected working areas.
Position Components
Move and place elevator components within the protected area.
Structural Installation
Install door frames, guide rails, brackets and counterweight structure.
Check Accuracy
Verify structural alignment before subsequent elevator assembly.
A better installation starts before interior finishing.
Although this project demonstrates that a home elevator can be installed carefully after floor finishing, early elevator planning can simplify later construction even further.
Confirm shaft dimensions before structural construction is finalized.
Reserve suitable structural supports for guide rail brackets.
Coordinate the entrance opening with the intended elevator door system.
Coordinate elevator work with interior finishing to reduce later construction conflicts.
Already started decorating your home?
Whether your self-built house is still under construction or has already entered the finishing stage, send us your shaft dimensions, floor plan and site photos.
We can review the installation conditions and discuss how to coordinate the elevator with your current construction stage.
- Shaft width and depth
- Floor-to-floor heights
- Pit depth
- Door opening dimensions
- Ring beam arrangement
- Current construction / decoration stage
- Site photos or architectural drawings
Request an Installation Review
Tell us about your house, shaft and current construction stage.